There are two steps to add a form to a page:-
- Create a form
- Add the form to the desired page
Step One: Create a Form
- Go to Modules > Forms
- Click ‘Create Form’
- Add Title
- Create

- The new form will appear in your list of forms. Click Edit.
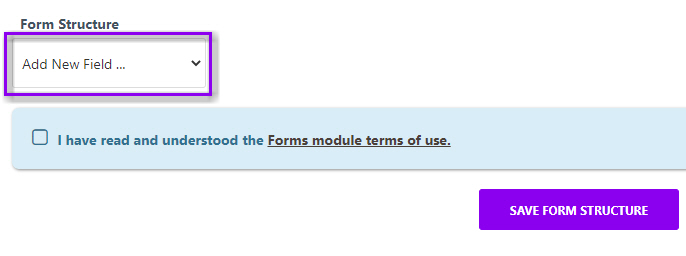
- It’s now time to build the form. You can choose from the field items on the left.
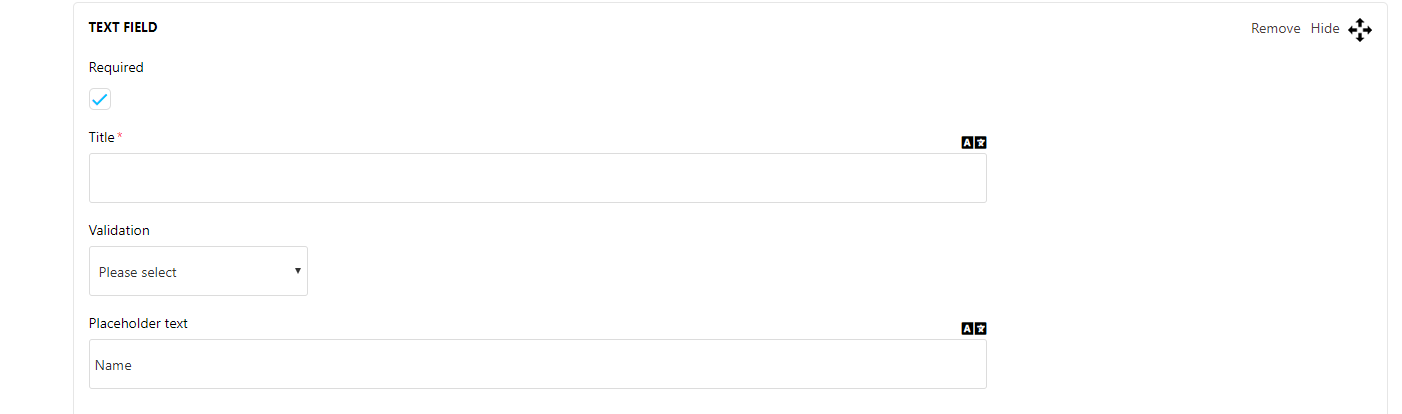
- Each field has the following options:
- Required Tick Box: To be ticked if the field is mandatory for the user to complete
- Title: Title of the field (i.e Name, email address, contact number etc)
- Validation: Ensures the user provides the necessary information in the required format
- Placeholder Text: Descriptive text that disappears once the user starts typing
- Once all fields have been created, save form structure, accept T&C's and save changes.

- Above Save Changes you’ll find Form Settings. Click this to expand & complete the following fields:
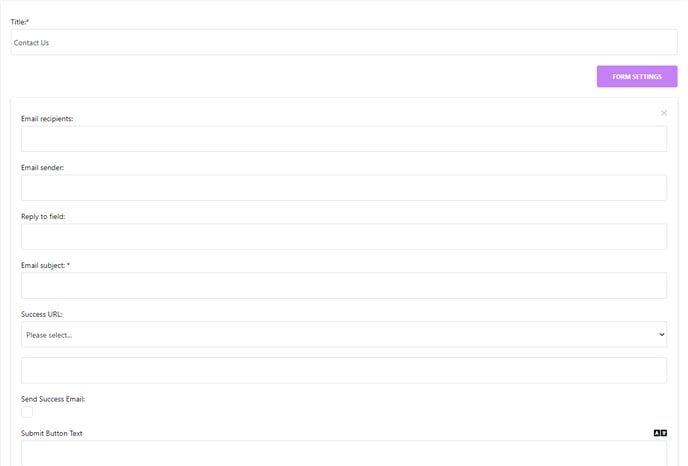
- Email Recipients: Email address of person within the property who receives the form/enquiry
- Email sender: This will always be noreply@netaffinity.com
- Reply to field: Same email address as Email Recipients
- Email Subject: The subject of the email you receive when a form is submitted
- Success URL: The page the user is directed to once they submit the form
- Send Success Email: Email sent to user once they submit the form
- Submit Button Text: The wording on the Submit Button i.e Submit; Send; Submit Now etc
- Mailchimp: Field for Mailchimp user’s API Key
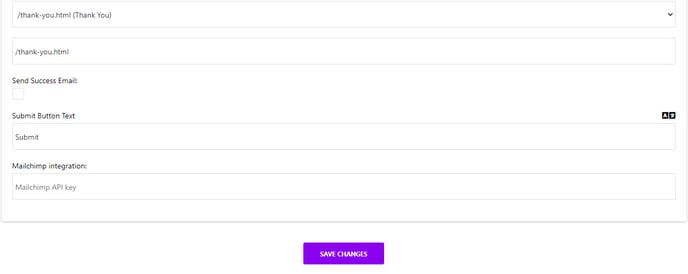
Ensure that all changes are saved.
Step Two: Add Form to Page
- Once saved, return to the Forms page.
- Every form has a unique code (generated from it’s title). This code needs to be taken and put into the formula [form code=FORMCODE] in order for the form to display on the front end.
EXAMPLE:

- In the above example, the code for the Contact Us form is contactus
- Go to the Main Content t tab of the page the form needs to be added
- Enter [form code=contactus]
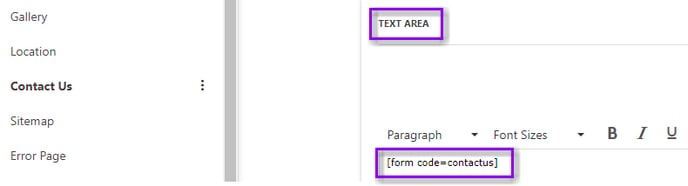
- Save changes
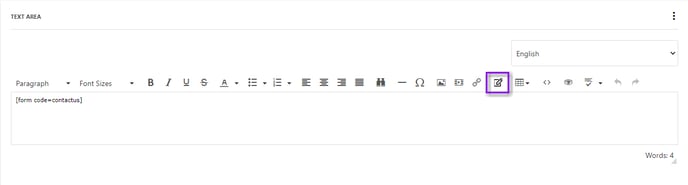
An alternative way to add a form
- Click the form icon
- Choose the form from the dropdown
- Save changes
Always view the live page to ensure the form is displaying correctly.