Marketing Landing pages are used to funnel your guests from a Marketing Campaign into the booking funnel. They should not be linked to your main or footer navigation or in any other place on your website.
They will need to be setup on your Website Builder, and then linked into your campaigns via a link you can access from your Website Builder.
The purpose of these pages is to provide additional information about an offer and your hotel and its facilities, before sending the user into the booking funnel. You should provide relevant details to the guest looking at this specific offer only.
You can setup multiple Marketing Landing pages for your different offers. Examples: Summer Family Bed & Breakfast, Dinner Bed & Breakfast, 2 Night Bed & Breakfast Offer - Stay Longer for Less, Winter Dinner Bed & Breakfast Offer with Spa Treatment
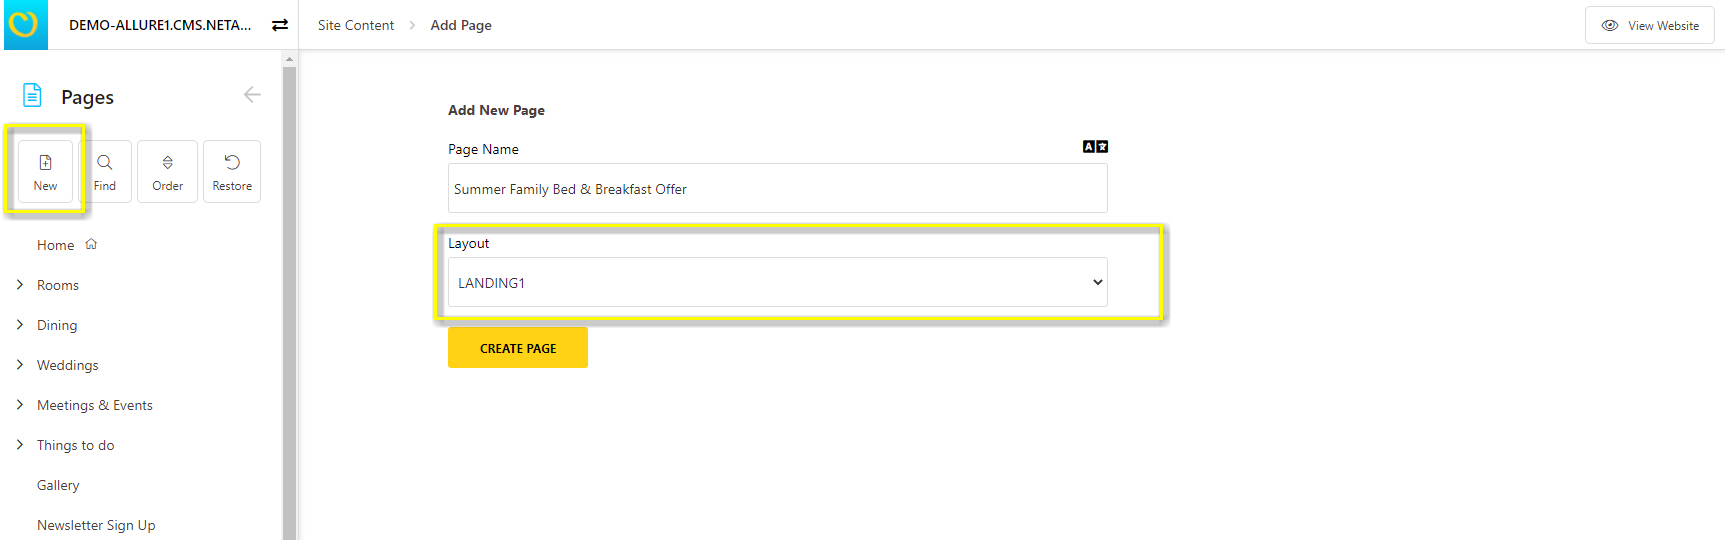
1. To setup your Marketing Landing page, create a new page choosing layout Landing1. Make sure your title is comprehensive for reference on your CMS Admin Interface and Page titles visible on the browser tab
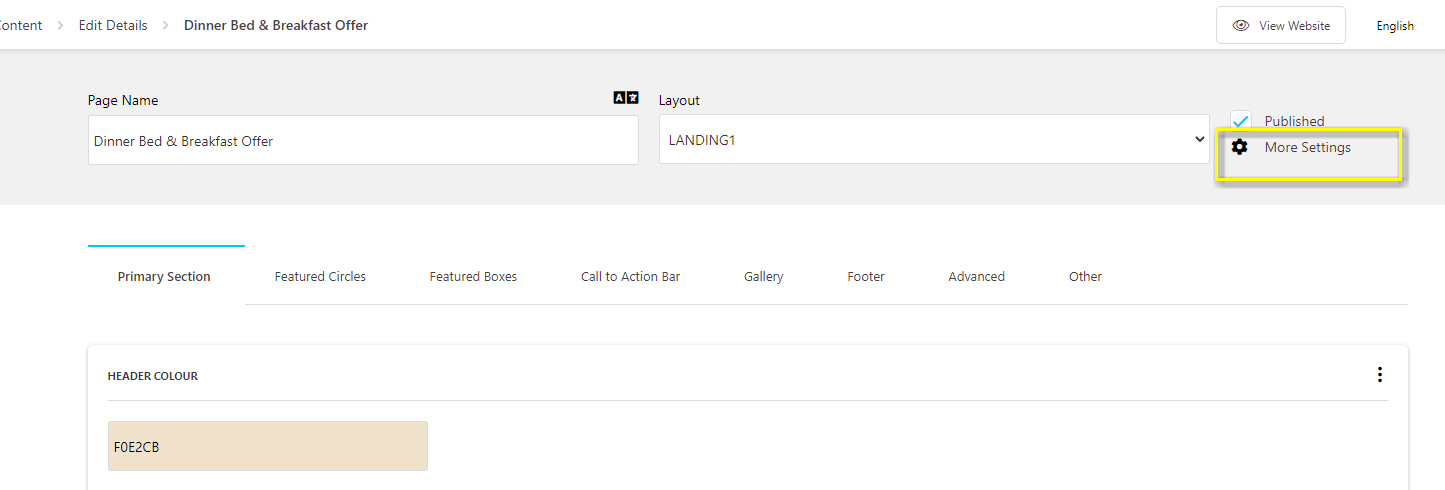
2. Click on "more settings" to expand the page setting section
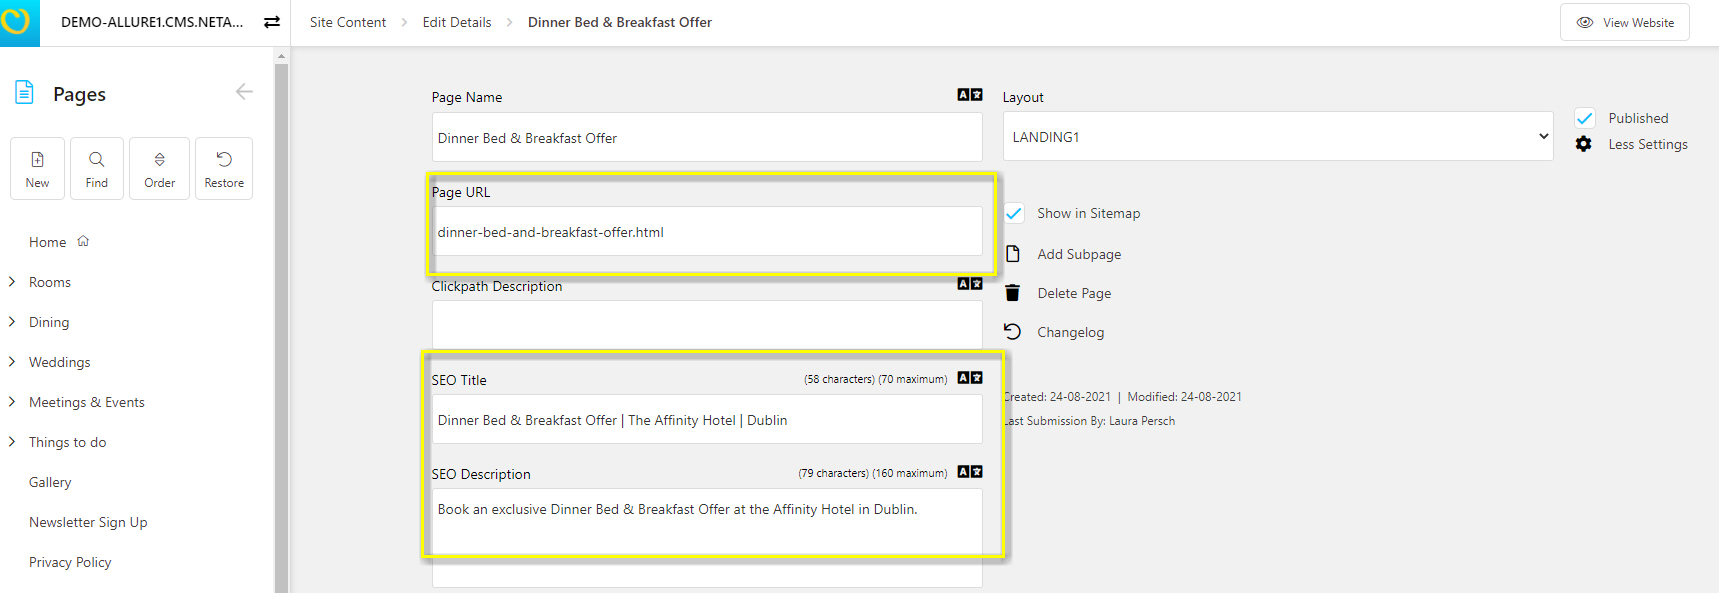
3. Ensure your page URL is clean, tidy and represents your offer. The URL will pull from your page name originally, be mindful when cloning landing page layouts for other campaigns. You can change the URL if needed via "page URL".
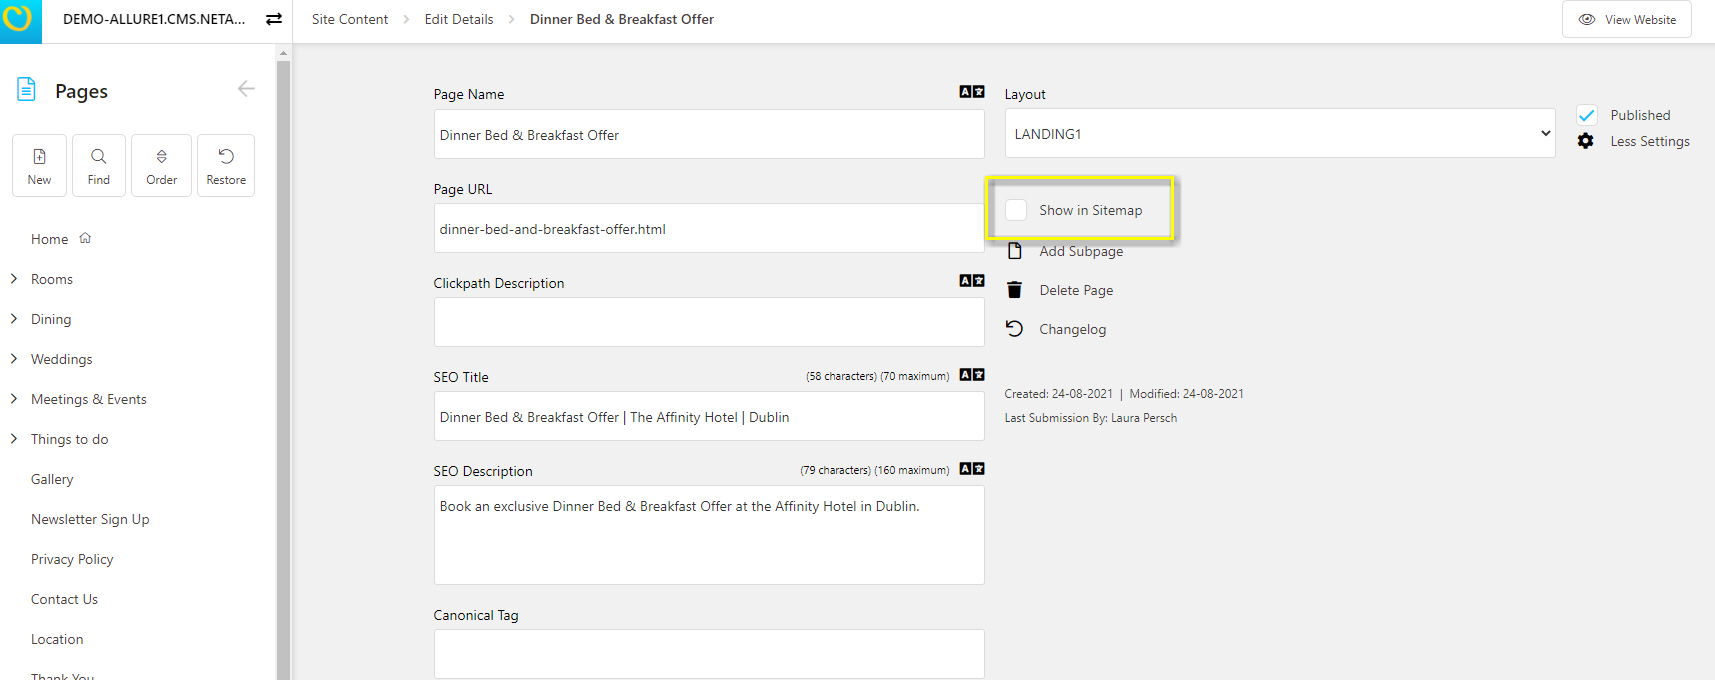
4. Untick the checkbox to "show in sitemap". Marketing Landing pages should not be linked on your site, but serve the purpose of funneling the guest from your Marketing campaigns into the booking process.
5. Add your content to the page commencing with the "Primary Section"
Define your header colour via the colourpicker. You can change this header colour from your brand colours to match the season or type of offer you're promoting, e.g. choose bright colours during the summer, red / brown / golden tones for Autumn offers, etc.
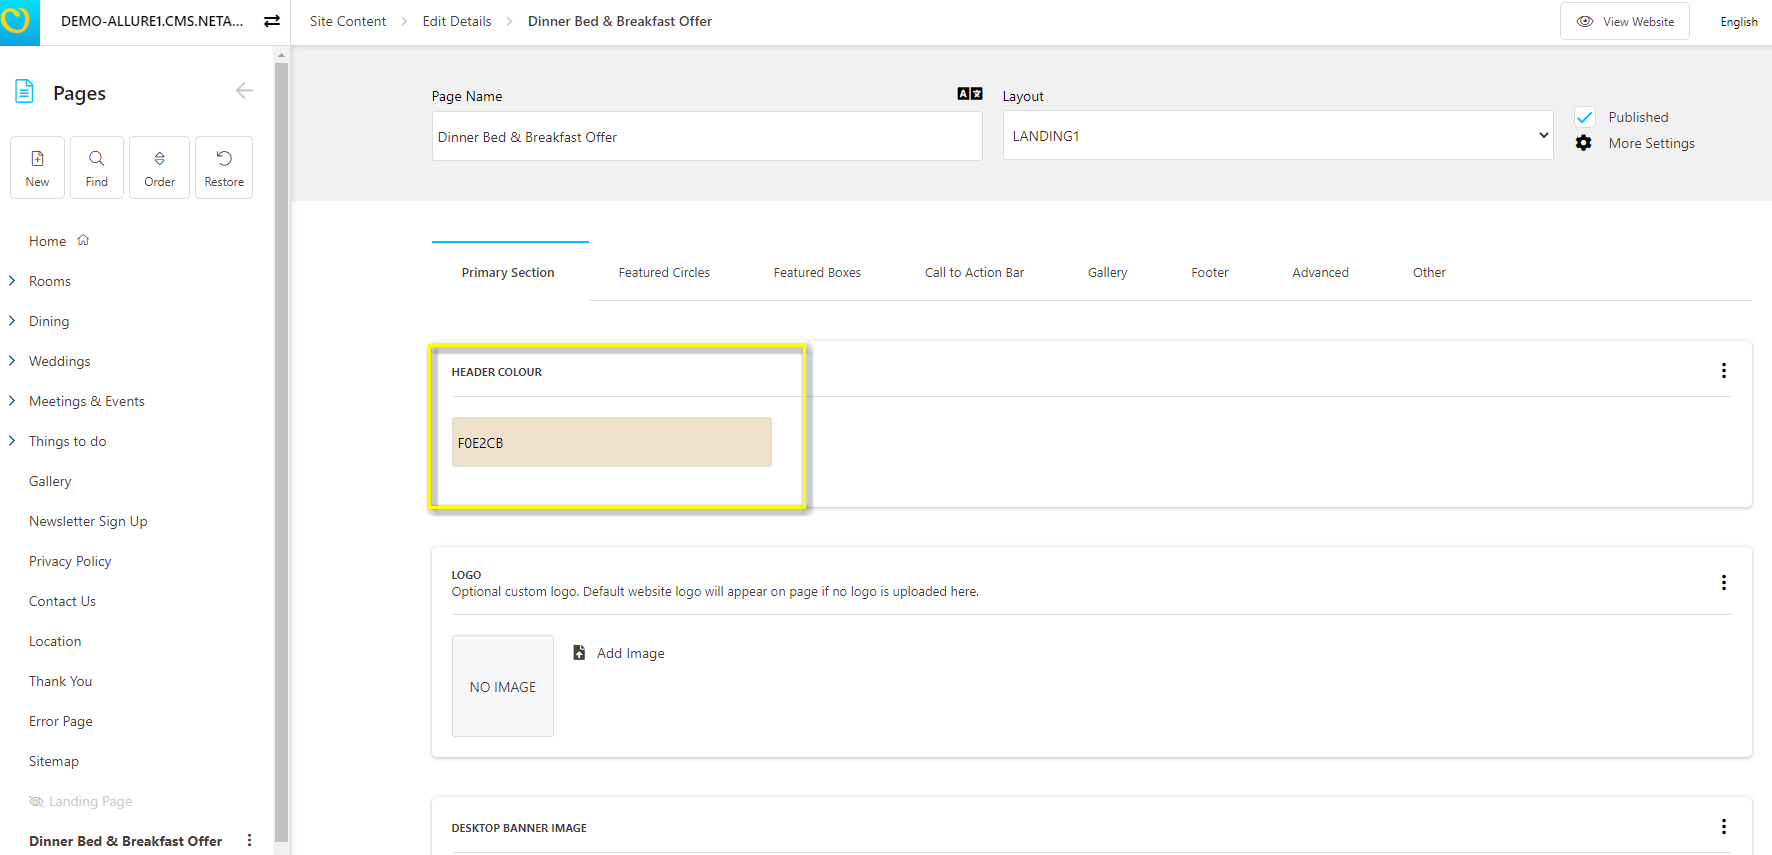
Should your main site use a transparent logo with white font, and you have decided to use a bright colour as your header bar, we recommend uploading a separate logo for your Landing page. Should you main logo on the website suit the header colour, you can leave this field blank.
6. Add desktop and mobile banner image. Each image is to be uploaded into the page directly. Please stick to dimensions displayed within each section and ensure to resize, crop and compress your image before uploading. You can avail of the crop function on the CMS, should your image exceed the dimensions slightly.
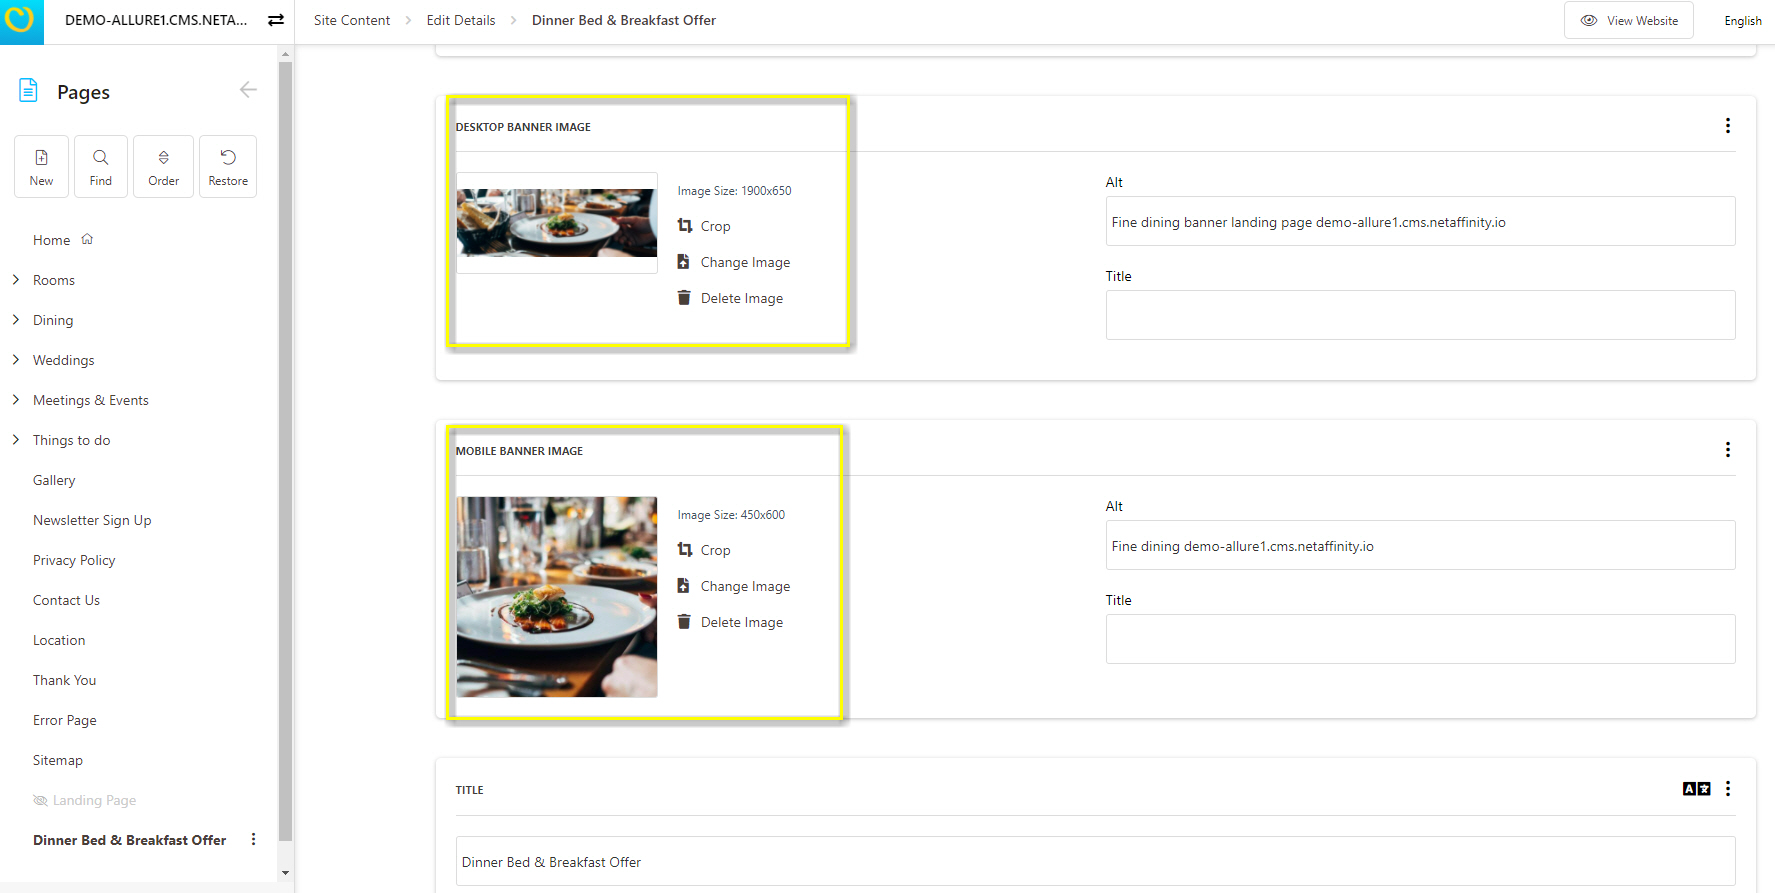
7. Add your title
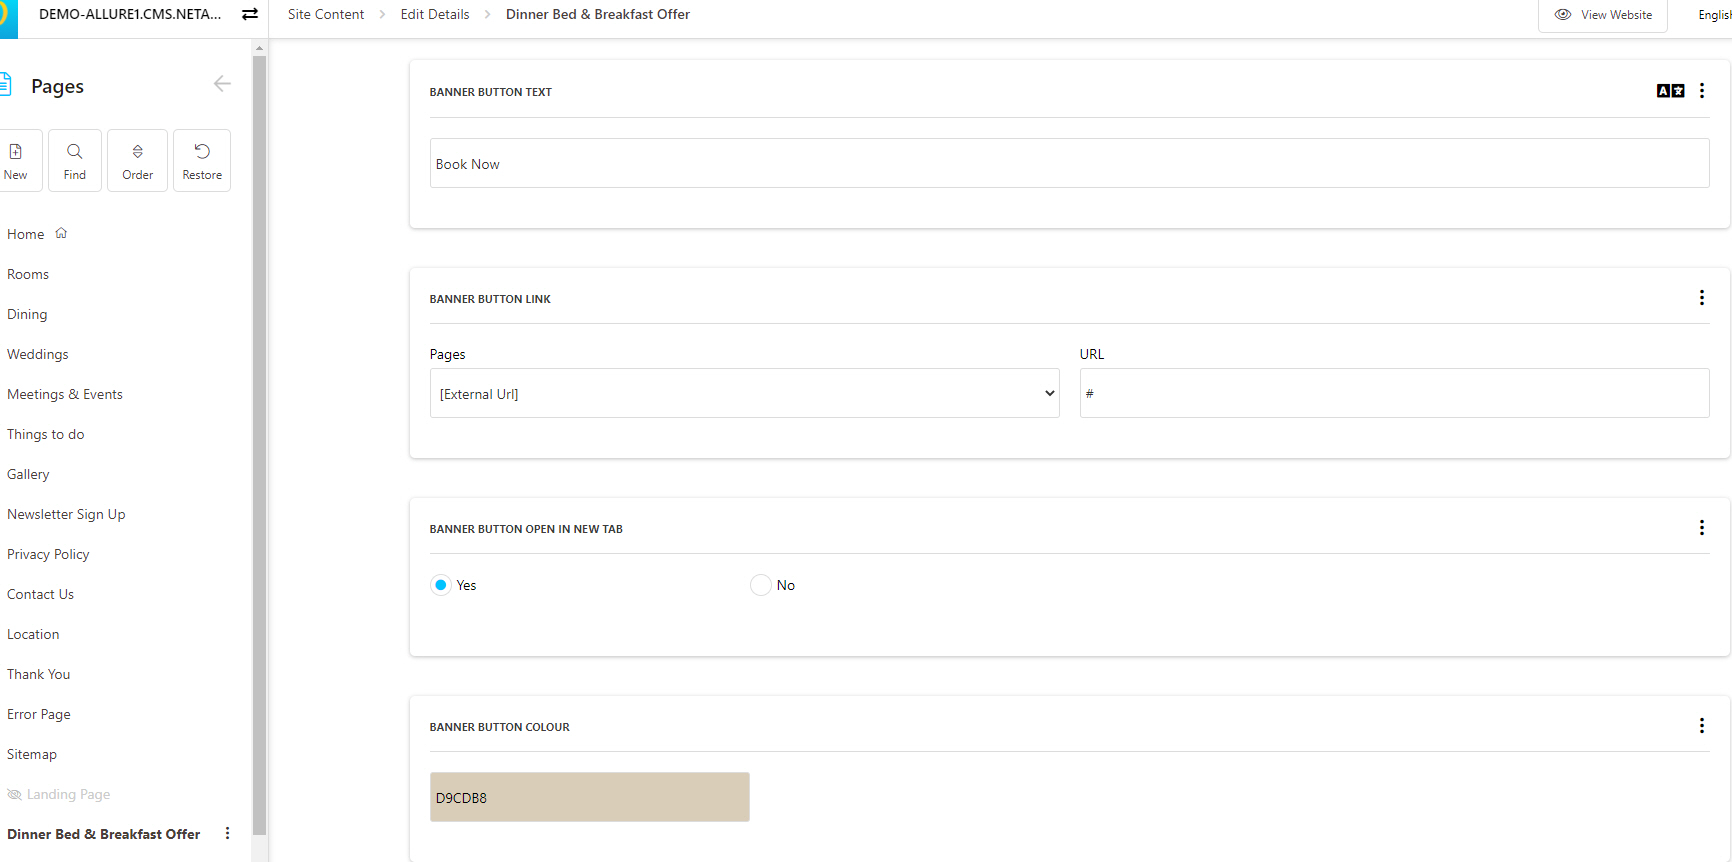
8. Add your main CTA - this should always be setup on your Marketing Landing page and clearly visible through a distinct colour
- Banner Button Text: Text displayed on the button on your banner directly. Communicate a clear action, e.g. "Book Now"
- Banner Button Link: Add the link directly into your booking engine rateplan to avoid the user clicking through to a general booking process and having to search for your offer
- Banner Button Open in New Tab: Set to "no" to move the user through the booking funnel and into the booking engine in one flow. Change to "yes" if you wish to open in a new tab instead.
- Banner Button Colour: Choose a distinct colour via the colour picker
- Banner Button Text Colour: Choose a text colour that contrasts your banner button colour, e.g. dark colour on bright button, white colour on dark background colour
- Text Area: Add a brief summary of your offer and what is included in the text area
Please note, this is a Master Layout containing different elements that can be added to your Marketing Landing page. We do not recommend to turn on all elements at the same time. We have populated out all elements in this article below for visualization purposes.
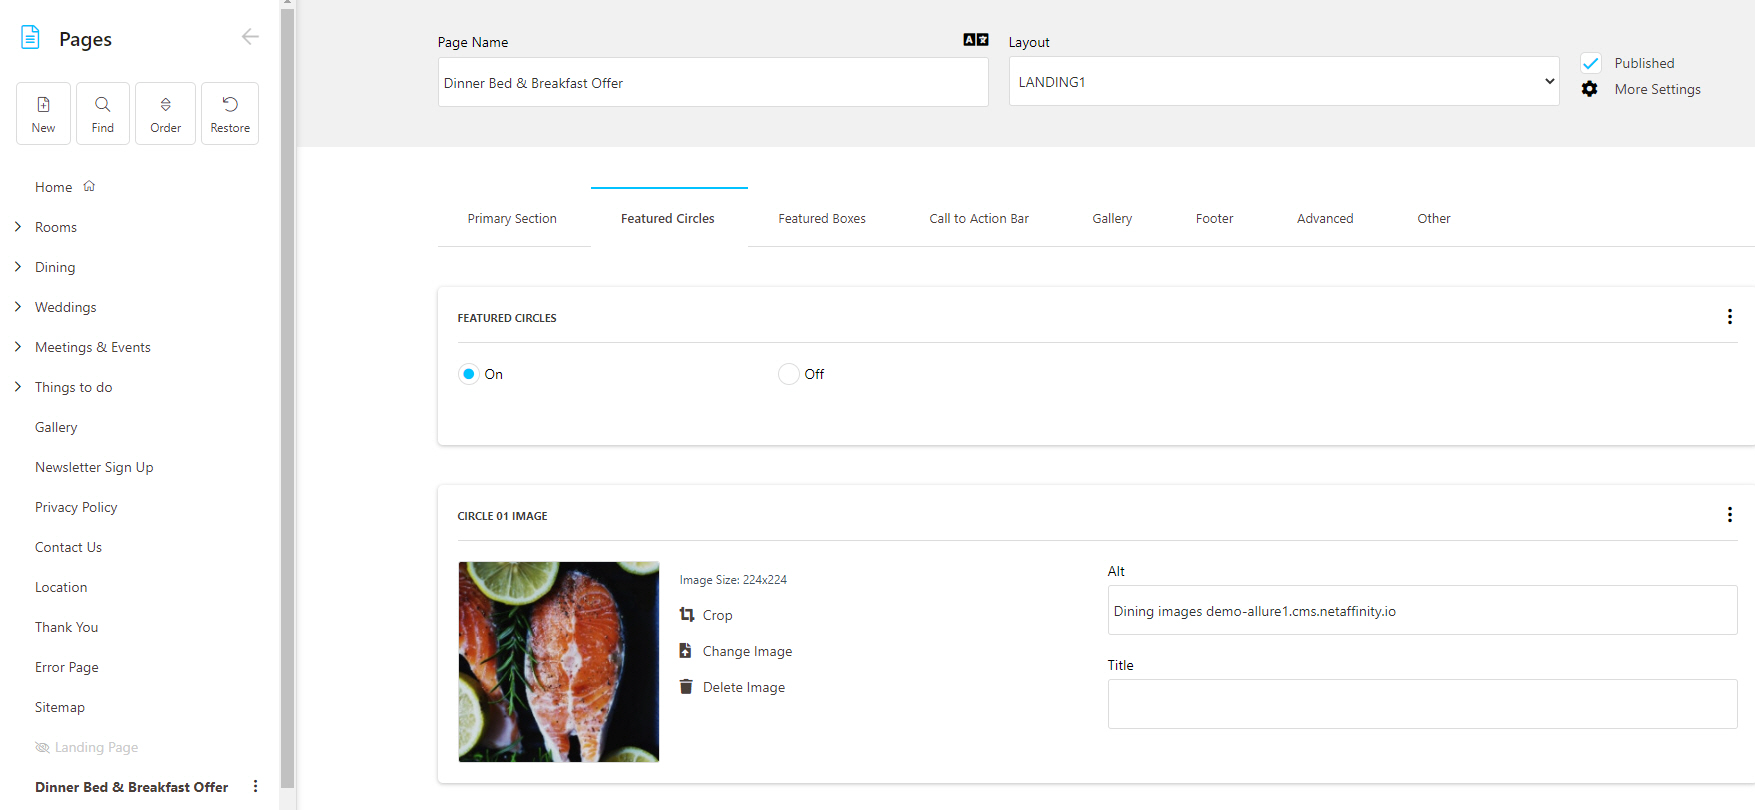
9. Featured Circles (Optional) - 3 circles will display with a title and short description. These should be used to highlight USPs of your hotel, which are relevant to the offer, e.g. Dining related when promoting a Dining Offer, Family related when promoting a Family Offer
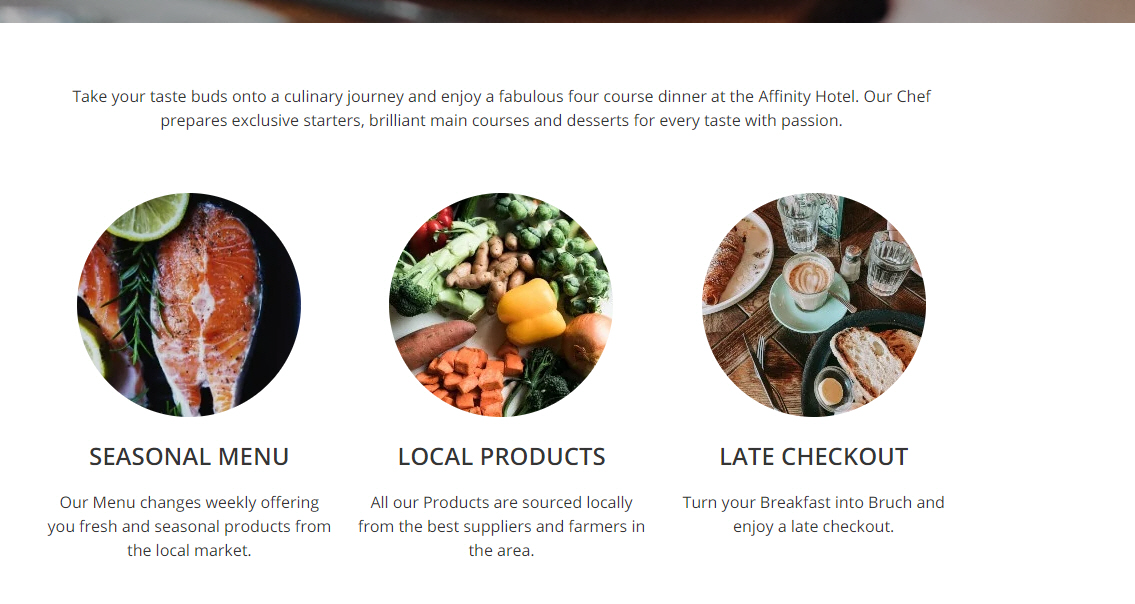
- Turn this section "on" or "off" depending on requirements
- Circle 01 Image: Add your resized and compressed image, you can use the crop function on the CMS if slightly larger
- Circle 01 Title: Keep it short and distinct
- Circle 01 Description: Add a brief sentence detailing out your USP, keep it short and to the point
Repeat the same steps for Circle 02 and Circle 03.
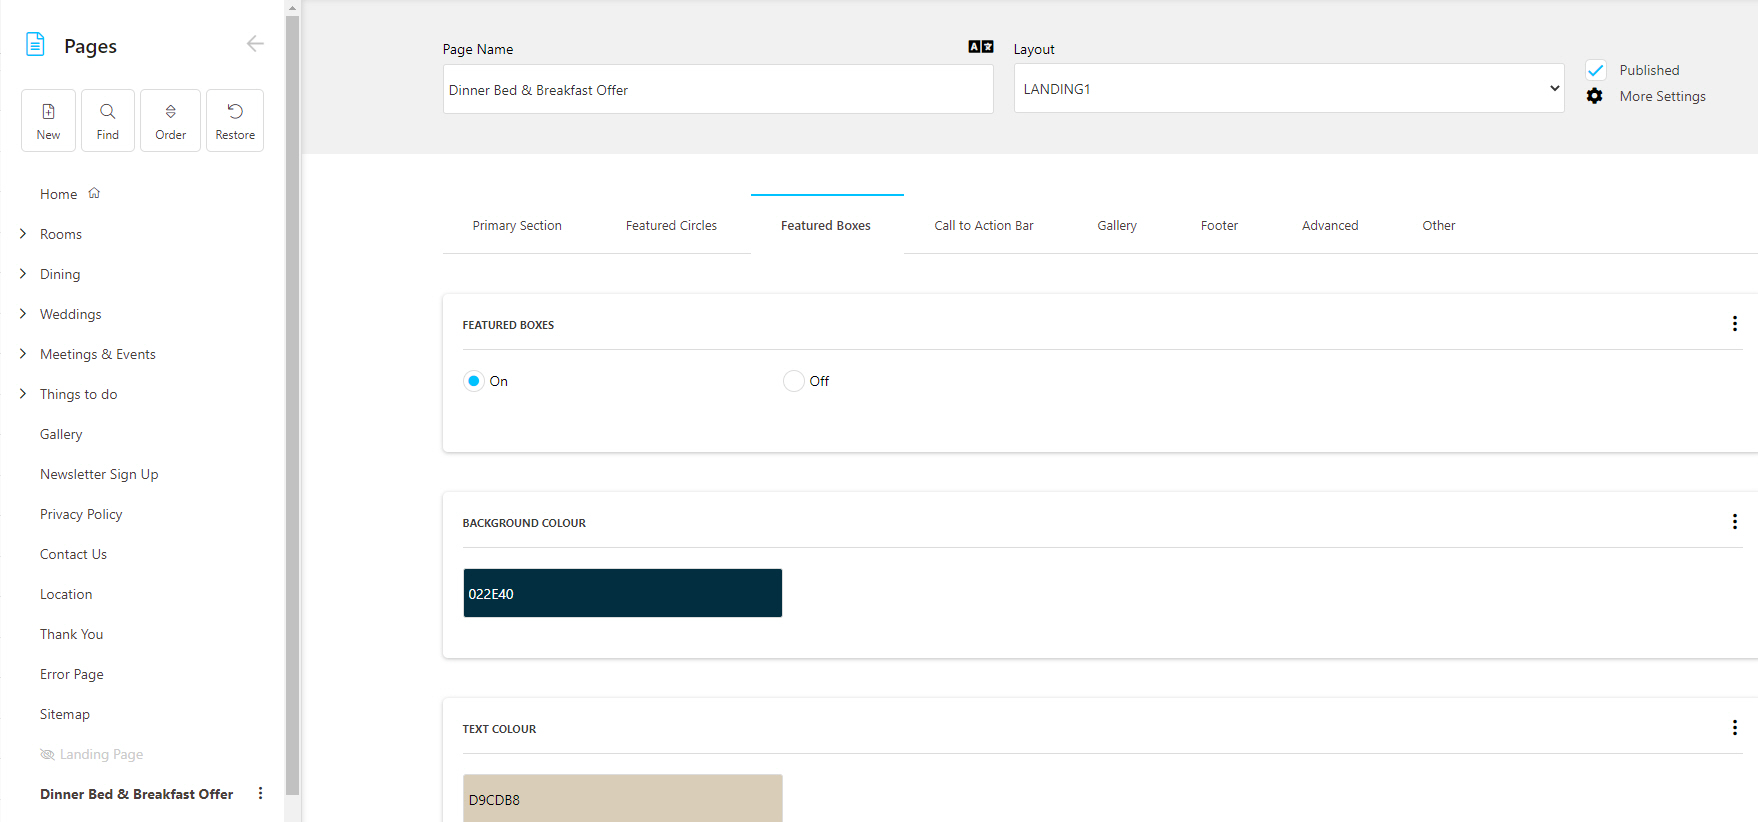
10. Featured Boxes (Optional) - two boxes will display in tile format
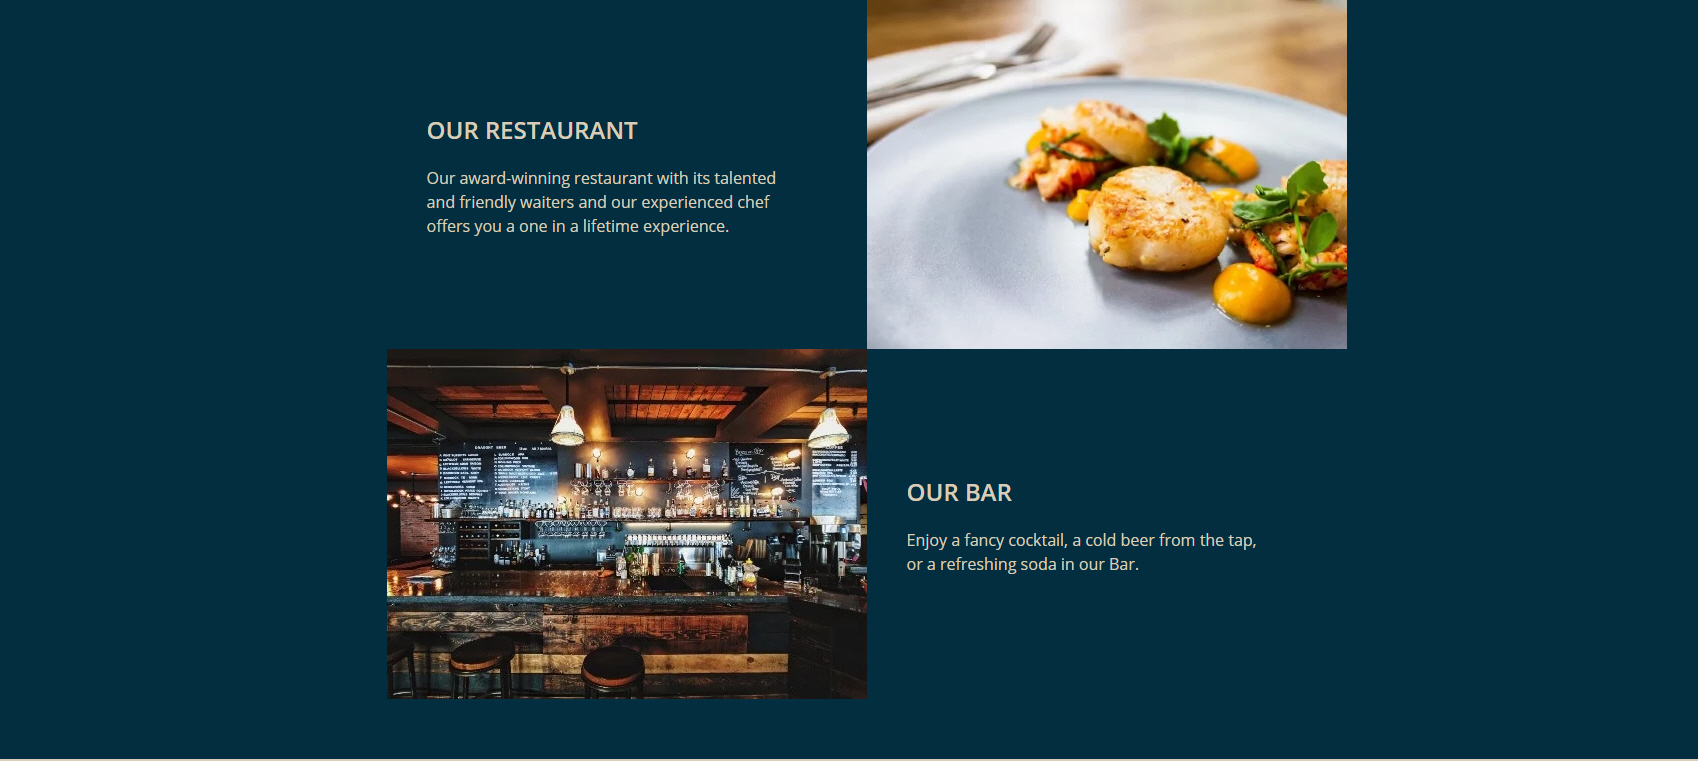
- Turn this section "on" or "off" depending on requirements
- Box 01 Image: Add your resized and compressed image, you can use the crop function on the CMS if slightly larger
- Box 01 Title: Keep it short and distinct
- Box 01 Description: Add a brief sentence detailing out your above point
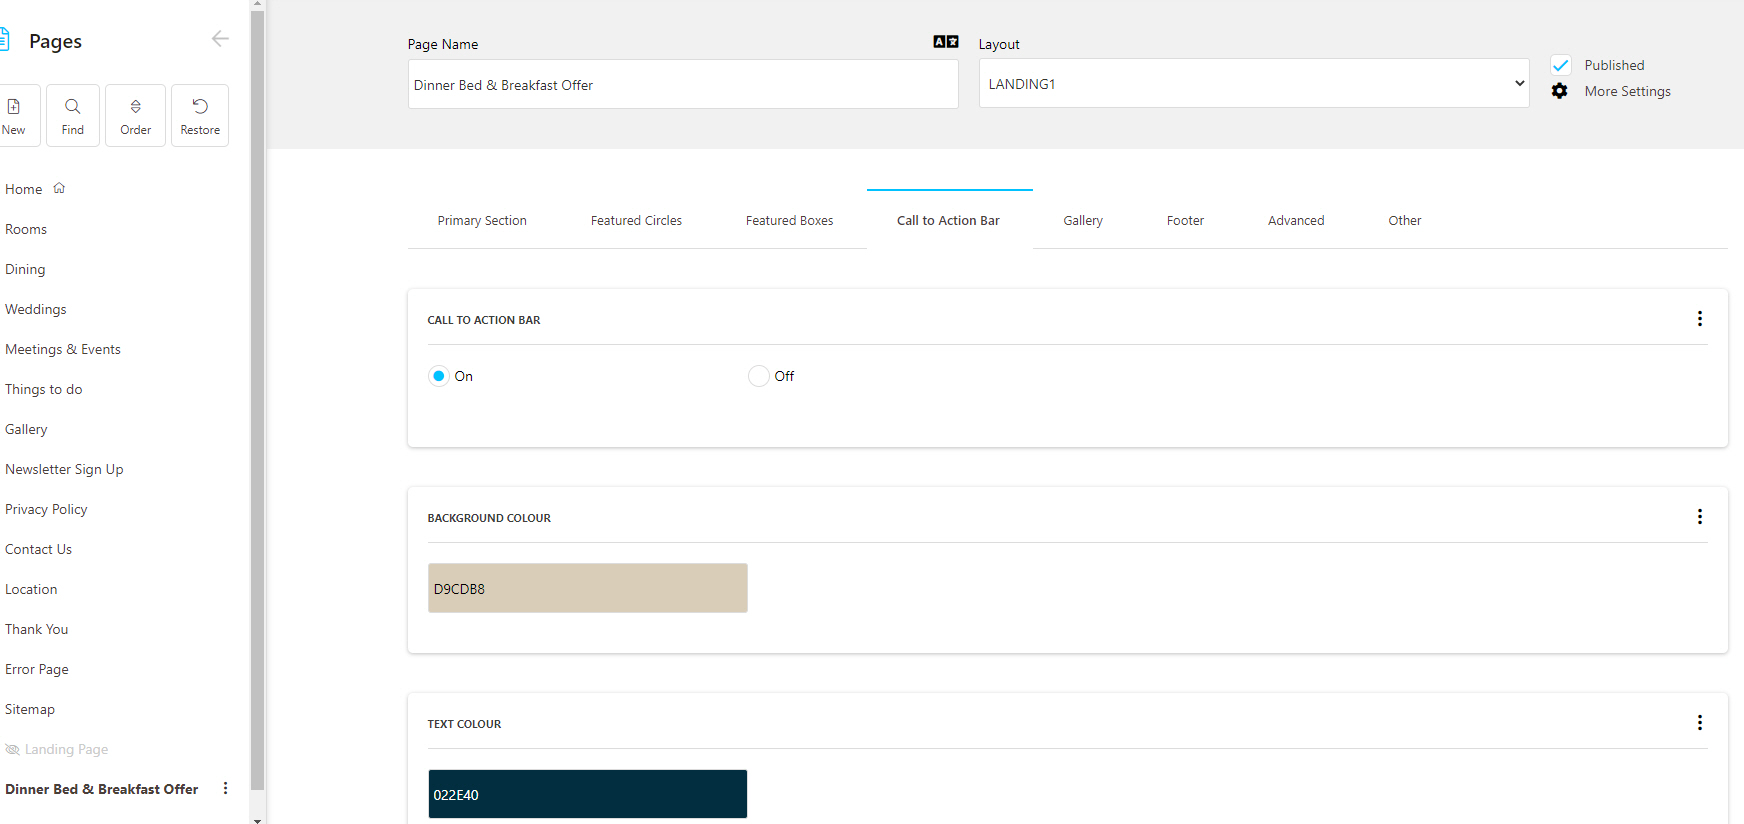
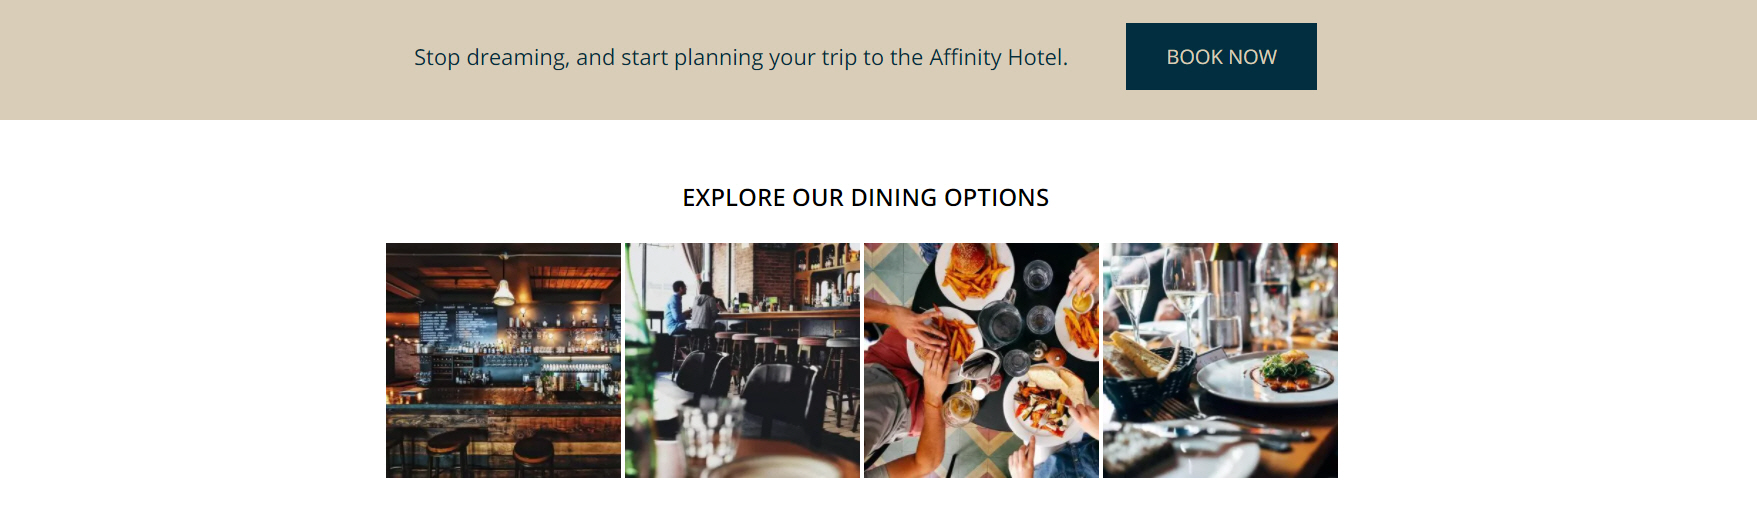
11. Call to Action Bar - we recommend adding your Call to Action Bar to give a second CTA to click through to book the offer

- Turn this section "on" or "off" depending on requirements
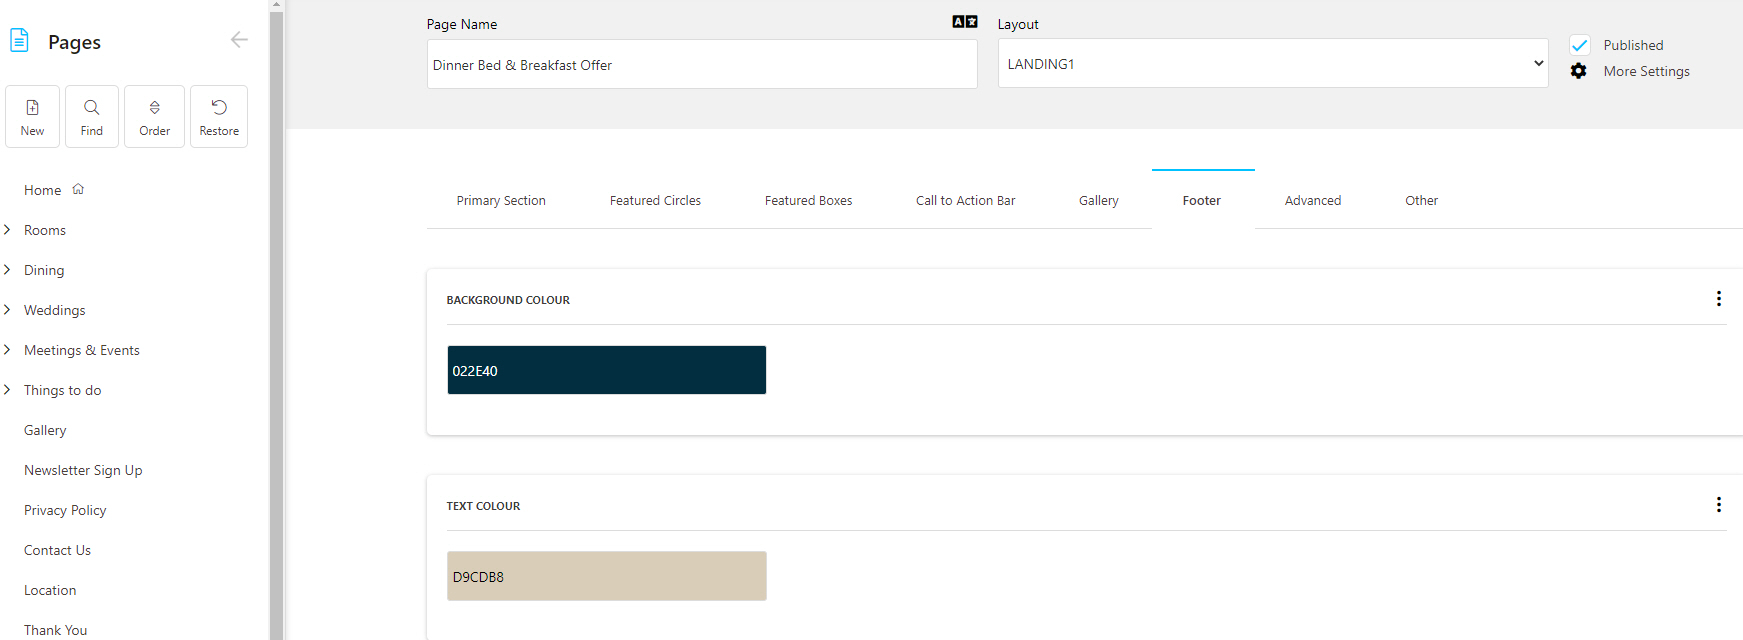
- Background Colour and Text Colour: Choose strong colours communicating with your overall colour scheme of the page, these are the background colours of the bar itself, here displayed in beige
- Text: Add a brief and short sentence to get the guest to continue to book
- Button: Add your button text and link, link can be opened in the same tab. Add a strong Button Background Colour and Button Text Colour
12. Gallery (Optional) - a gallery displaying four images in tile format displays at the bottom of the page. Please note, more than four images can be added, but we recommend adding no more than 6 images. Images should be properly resized and compressed to not compromise site speed.
Create your gallery via Modules > Galleries

Choose type "LandingGallery"
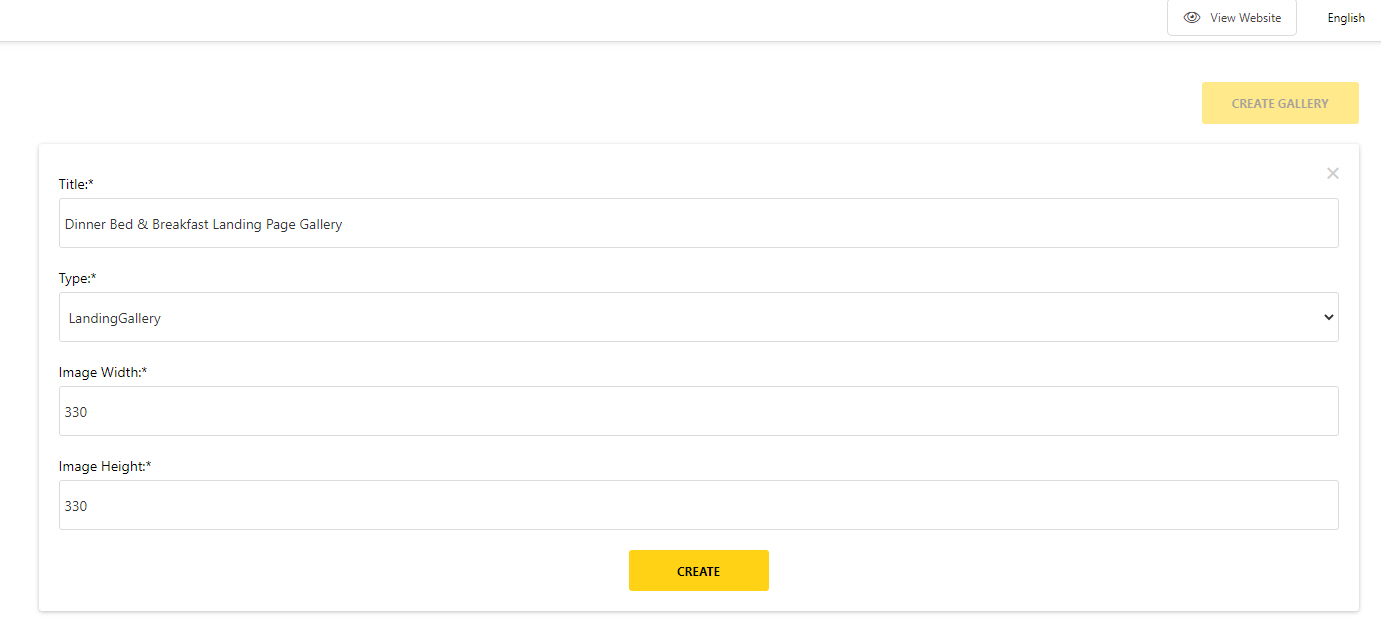
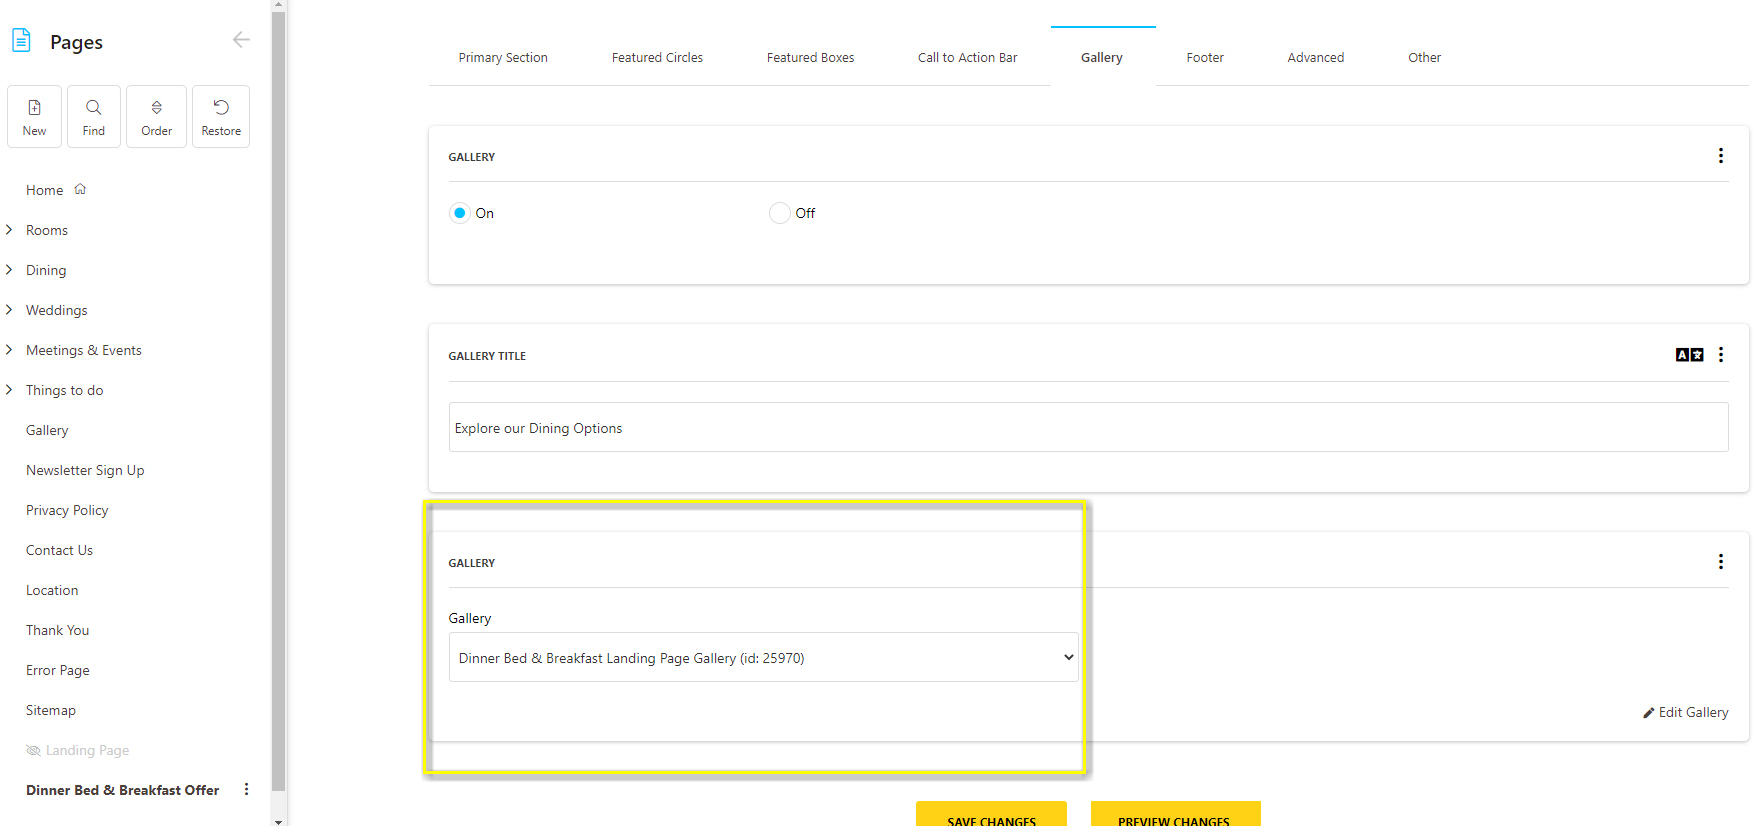
- Upload your images and link your gallery on your Marketing Landing Page.
- Add a title to your gallery.
13. Add your footer background colour and text colour
14. Advanced
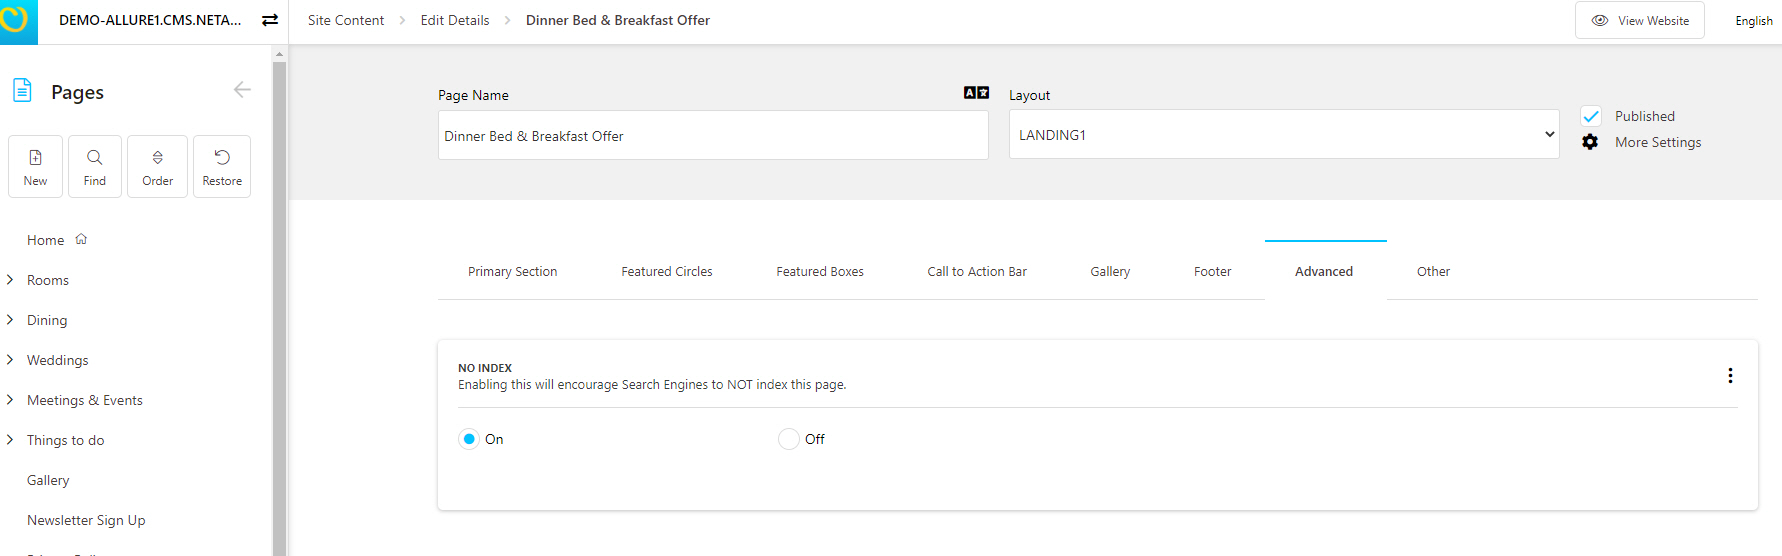
No-index will be turned "on" by default so search engines won't index your Landing page.
Best Practices for Marketing Landing Pages
1. Use high quality imagery in correct sizes: avoid uploading images that are too small or too large as their quality will be compromised
2. Use the same images for advertising: your landing pages and all ads should match to create the best user experience and help your marketing activities convert into bookings
3. Compress all images to their smallest possible sizes before uploading them to CMS
4. Ensure your content is relevant to the offer you’re promoting and avoid repeating the same content in different sections:
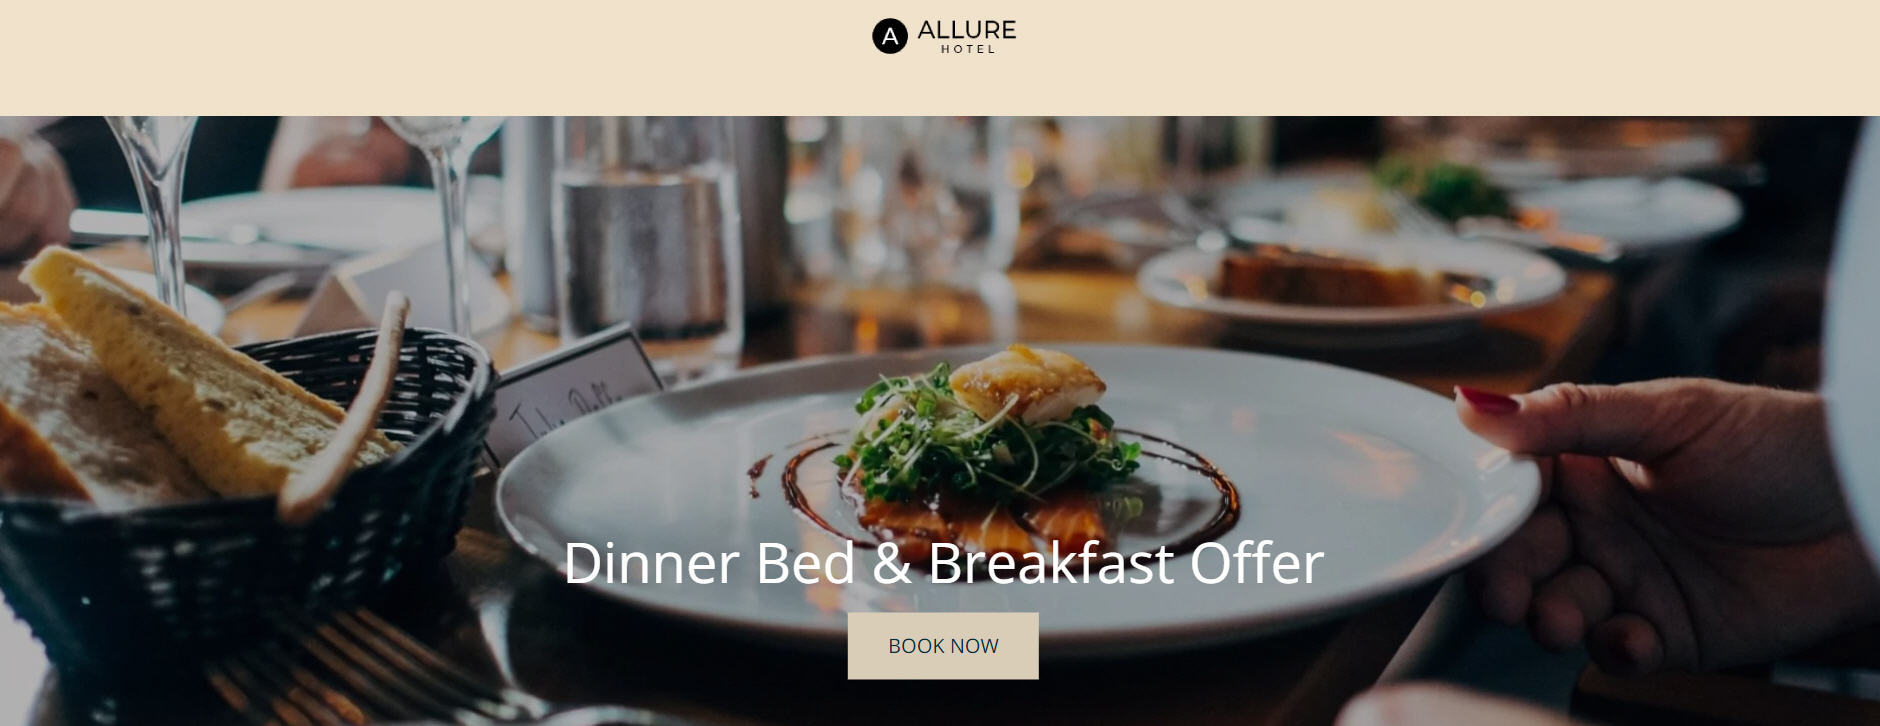
Preview an example of a Demo Landing Page here: https://demo-allure1.cms.netaffinity.io/dinner-bed-and-breakfast-offer.html
- Main Banner Imagery: add a relevant main desktop and mobile banner image that relates to your offer, if you're promoting a Dinner Bed & Breakfast Offer, show a Dining image, if you're promoting a Summer Family Bed & Breakfast Offer show imagery of a happy family
- CTA Button: don’t be afraid to be direct with your call-to-action button – use “Book Now” or “Get Offer Now” instead of “Learn More” and “Visit Site” if your focus is to sell
- 3 Circle Carousel (optional): use these to provide some more information about the unique selling points of the hotel, for example, great location, award-winning spa, kids club, or gourmet dinners. Make sure these USPs are relevant to the offering
- Featured Area (optional): use this section to add more details about your offer and facilities relevant to the guest looking to book this offer, for example, for Dinner offers add details about your Dining facilities or a menu, and for family offers, include some details on nearby activities and things to do. Avoid repeating the same content you have already included in any of the above sections.
If you’re using a landing page to promote a sale, make sure to repeat the price point in few different places to really make it stand out